If your eyebrows have been feeling a little flat, unruly, or just… over it, you’ve probably seen the term “brow lamination” floating around your Instagram feed. Maybe a friend showed up with brows so full and fluffy you had to ask what she’d done differently. That’s brow lamination, and it’s quickly become one of the most requested brow treatments at Brow-Art Threading Salon in Dallas — for good reason.
If you’re brow-curious but a little nervous about trying something new (totally normal, by the way), this guide walks you through exactly what happens before, during, and after a brow lamination appointment, so you can walk in feeling confident instead of googling “does brow lamination hurt” in the parking lot.
What Is Brow Lamination, Exactly?
Think of brow lamination as a perm for your eyebrows. Instead of curling the hair on your head, your brow technician uses a gentle chemical solution to restructure the hair in your brows, brushing them upward and into place so they stay put — no gel, no pencil, no daily brushing required.
The result is fuller, fluffier, more symmetrical-looking brows that hold their shape for weeks. It’s especially popular with people who have:
- Sparse or patchy brows
- Brow hairs that grow in different directions
- Naturally straight or downward-growing hairs
- A desire for that “no-makeup makeup” brow look
Unlike microblading or tinting, brow lamination doesn’t add pigment or make tiny incisions in the skin — it simply reshapes the hair you already have. That makes it a great low-commitment option if you want dramatic results without a long-term or invasive procedure.
Before Your Appointment: How to Prep
A little preparation goes a long way in making sure your brow lamination results look their best.
Skip the tweezers. Try not to pluck, wax, or thread your brows for at least 24–48 hours before your appointment. Your technician will want to see your natural brow shape and hair growth pattern before shaping them.
Avoid retinol and exfoliants. If you use retinol, retinoids, or strong exfoliating products near your brow area, pause them for a couple of days beforehand. These can make the skin more sensitive to the lamination solution.
Come with clean, makeup-free brows. Arriving with a bare face (or at least bare brows) helps your technician assess your natural texture and color without obstruction.
Mention any allergies or sensitivities. If you’ve had a reaction to hair dye, perm solutions, or other chemical treatments in the past, let your technician know. A patch test can be done ahead of time for peace of mind.
During Your Appointment: What Actually Happens
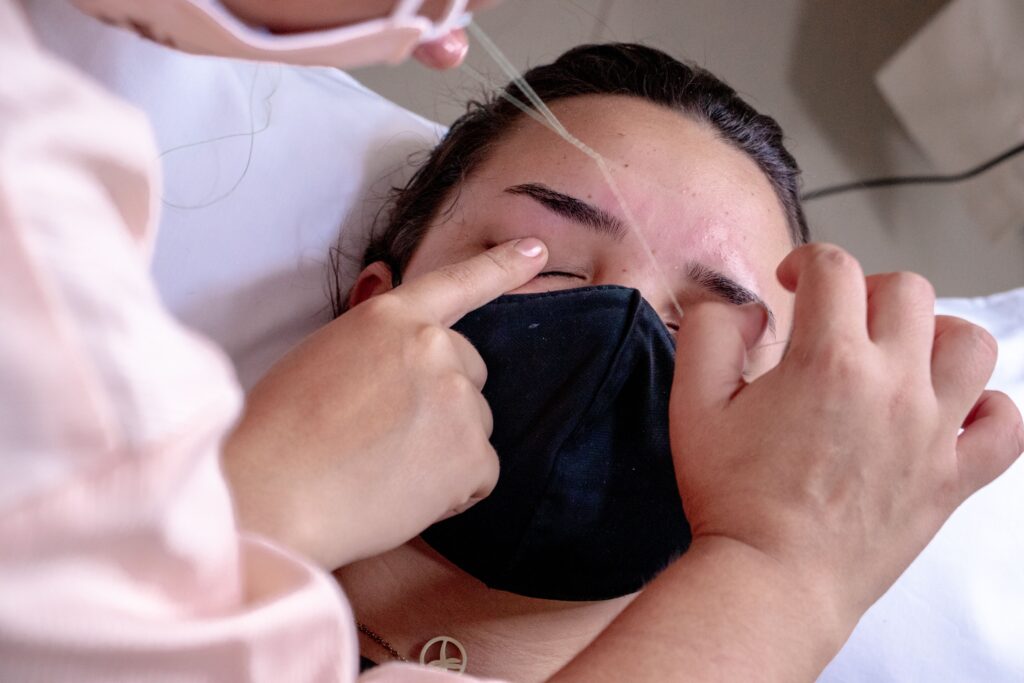
Here’s the good news: brow lamination is relaxing, not painful. Most appointments take about 45 minutes to an hour, and you’ll be lying back comfortably the whole time. Here’s the general process:
- Cleansing – Your brows are cleaned to remove any oil, makeup, or product residue.
- Lifting solution – A gentle lifting cream is applied to soften and loosen the hair structure, allowing it to be reshaped.
- Brushing and shaping – Your technician brushes your brow hairs into your desired shape — usually upward and outward for that fluffy, feathered look.
- Setting solution – A second solution locks the new shape into place.
- Nourishing treatment – A moisturizing serum is applied to condition the hairs and skin after the process.
- Tint or trim (optional) – Many clients pair lamination with a brow tint or a light trim for extra definition.
You might feel a slight tingling sensation, but it shouldn’t be uncomfortable. Most people find it genuinely relaxing — a nice excuse to close your eyes for an hour.
After Your Appointment: Aftercare Tips for Long-Lasting Results
Your brows will look freshly styled the moment you leave, but there’s a short aftercare window that makes a big difference in how long your results last.
Keep them dry for 24 hours. Avoid water, sweat, steam, and skincare products directly on your brows for the first day. This includes showers, saunas, and intense workouts.
Skip makeup on the brow area. Give your skin and hair a full day before applying brow gel, powder, or concealer over the area.
Brush gently each morning. Use a clean spoolie to brush your brows into place daily — this helps maintain the lifted shape as they naturally settle.
Moisturize. A lightweight brow serum or castor oil can help keep the hairs conditioned between appointments.
Book your touch-up. Brow lamination typically lasts 6–8 weeks, following your natural hair growth cycle. Booking a touch-up appointment around the 6-week mark keeps your brows looking consistently full and fresh.
Is Brow Lamination Right for You?
Brow lamination is a great fit if you want low-maintenance, full-looking brows without daily styling, and it works beautifully paired with services like threading or tinting for a complete brow transformation. If you already have very full or coarse brows, a simple shape and tint might be all you need — your technician can help you decide what’s right for your brow goals during a consultation.
Ready to Try Brow Lamination in Dallas?
At Brow-Art Threading Salon, our experienced brow technicians tailor every lamination treatment to your natural brow shape and hair growth pattern, so your results look full, fluffy, and completely you. Whether this is your first time or you’re a repeat brow lamination client, we’ll walk you through every step and make sure you leave with brows you actually want to show off.
Book your brow lamination appointment today and see why it’s become one of our most-loved brow treatments in Dallas.